Tiling a wall can completely transform the appearance of a room, whether it is a bathroom, kitchen, or shower area. However, before installing tiles, it is very important to make sure the wall surface is perfectly level. If the wall is uneven, the tiles may not sit properly, leading to gaps, crooked lines, and an unprofessional finish. Proper wall preparation ensures that tiles adhere well and remain durable for many years.
In this guide, we will explain how to level a wall before tiling, why it is important, and the step-by-step process to prepare the wall surface correctly.
Table of Contents
ToggleWhy Leveling a Wall Before Tiling Is Important
Many people think they can place tiles directly on a wall without checking if it is flat. This mistake can cause several problems. When a wall is not level, tiles may look uneven, grout lines may vary in thickness, and tiles may even crack over time.
Here are some reasons why leveling a wall before tiling is necessary:
1. Better Tile Alignment
A level wall ensures tiles align correctly and create straight grout lines.
2. Strong Adhesion
Tile adhesive works best on a flat surface. Uneven walls reduce bonding strength.
3. Professional Appearance
A smooth wall allows tiles to sit evenly, giving a neat and attractive finish.
4. Prevents Future Damage
Uneven surfaces can create pressure points on tiles, causing cracks or loosening over time.
Tools and Materials Needed
Before starting the leveling process, gather the following tools and materials:
-
Spirit level or long straightedge
-
Trowel
-
Sandpaper or sanding block
-
Wall filler or patching compound
-
Tile adhesive or leveling compound
-
Bucket and mixing tool
-
Sponge or cloth
-
Primer (if required)
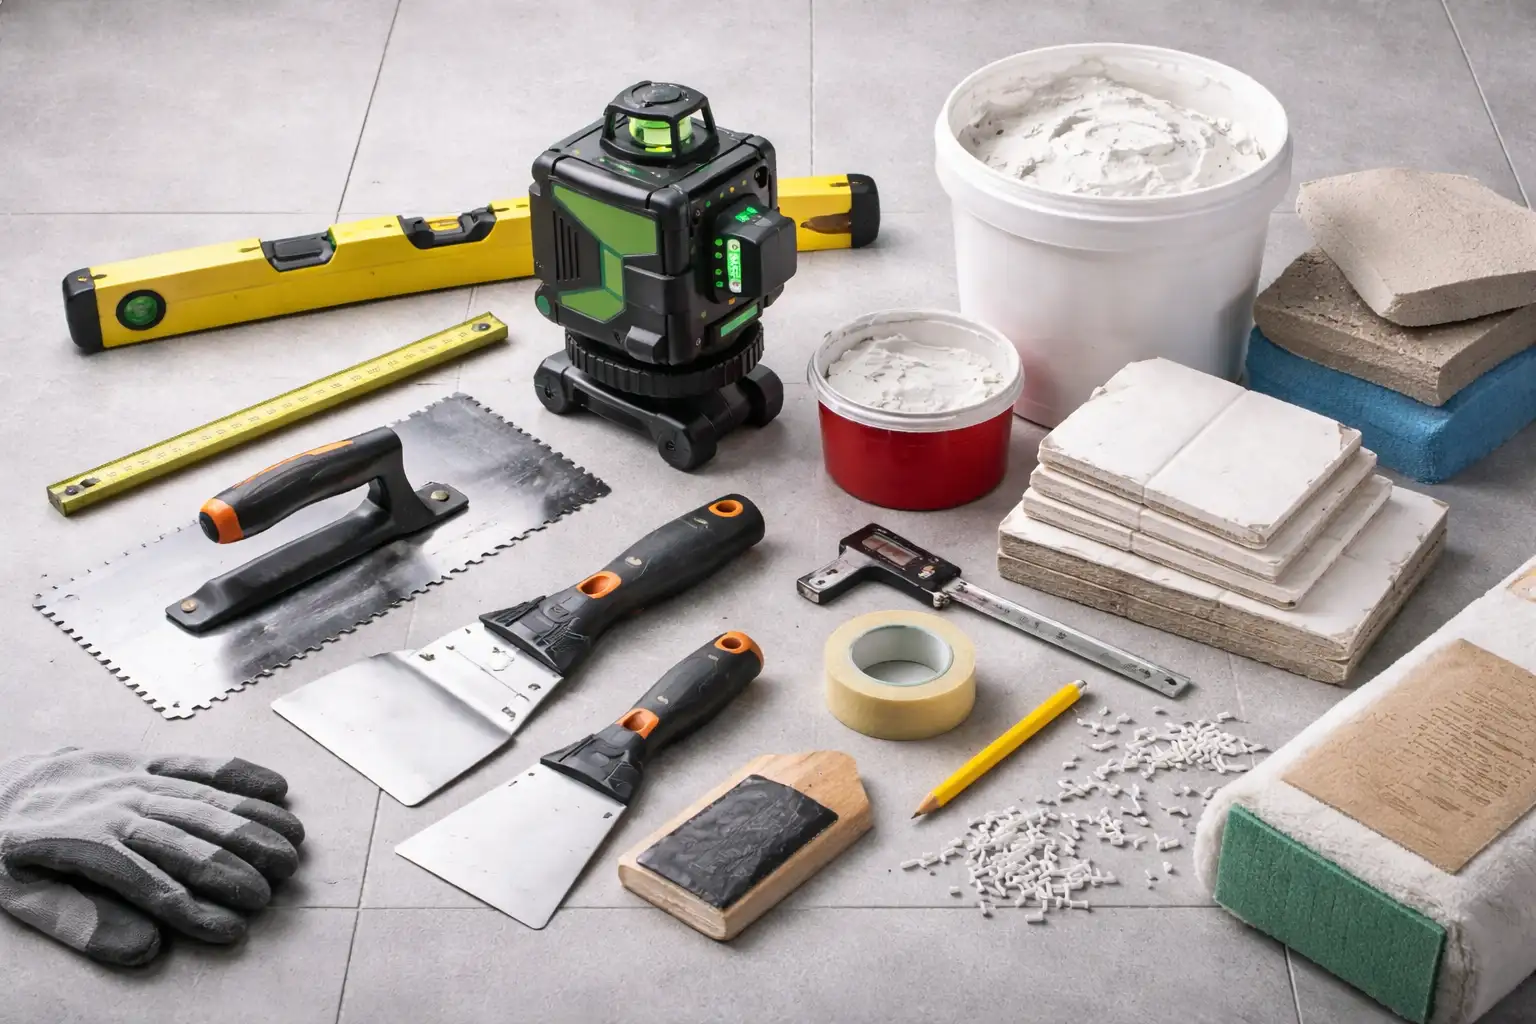
Having the right tools makes the wall preparation process much easier and more effective.
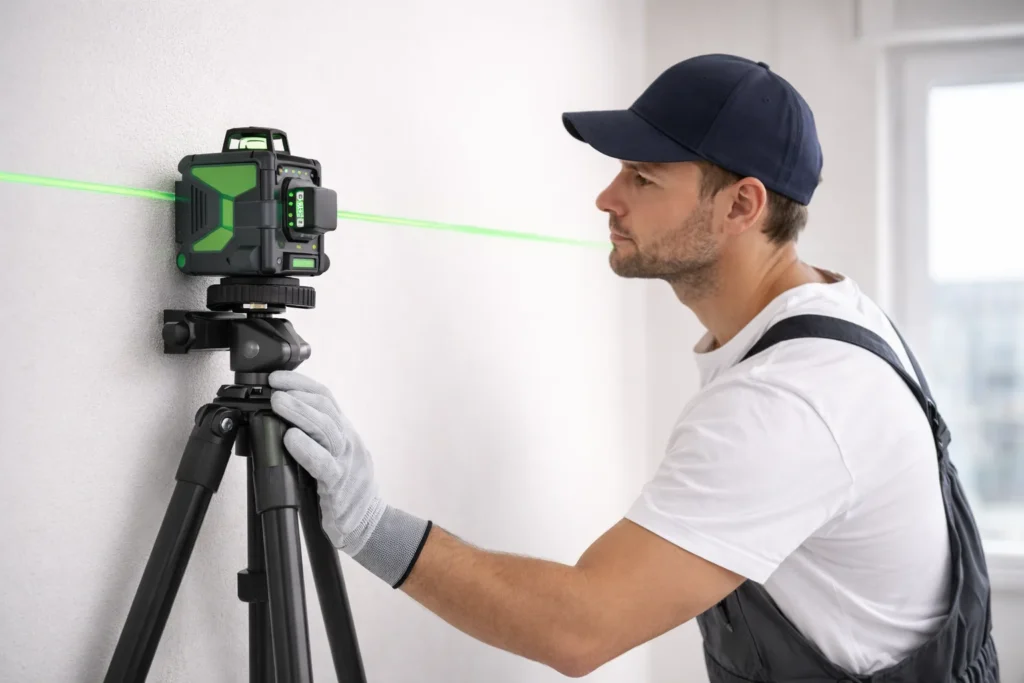
Inspect the Wall Surface
The first step is to inspect the wall carefully. Look for any bumps, cracks, holes, or uneven areas. Use a spirit level or straightedge to check if the wall is flat. Place the level vertically and horizontally across the wall.
If you notice gaps between the level and the wall surface, it means the wall is uneven and needs correction.
Mark any low or high spots with a pencil so you can fix them later.
Clean the Wall
Before leveling the wall, it is important to clean it properly. Dust, grease, and old paint can prevent leveling materials and adhesives from sticking well.
Use a damp cloth or sponge to remove dust and dirt. If the wall has grease or oil stains, clean it with mild detergent and water. Allow the wall to dry completely before moving to the next step.
A clean surface helps the leveling compound bond better to the wall.
Remove High Spots
If the wall has raised areas or bumps, they must be smoothed out before applying any leveling material.
Use sandpaper, a sanding block, or a wall scraper to remove these high spots. Sand the surface gently until it becomes flat and smooth.
After sanding, wipe the wall again to remove dust particles.
This step ensures that the wall does not have uneven bulges that could affect tile placement.
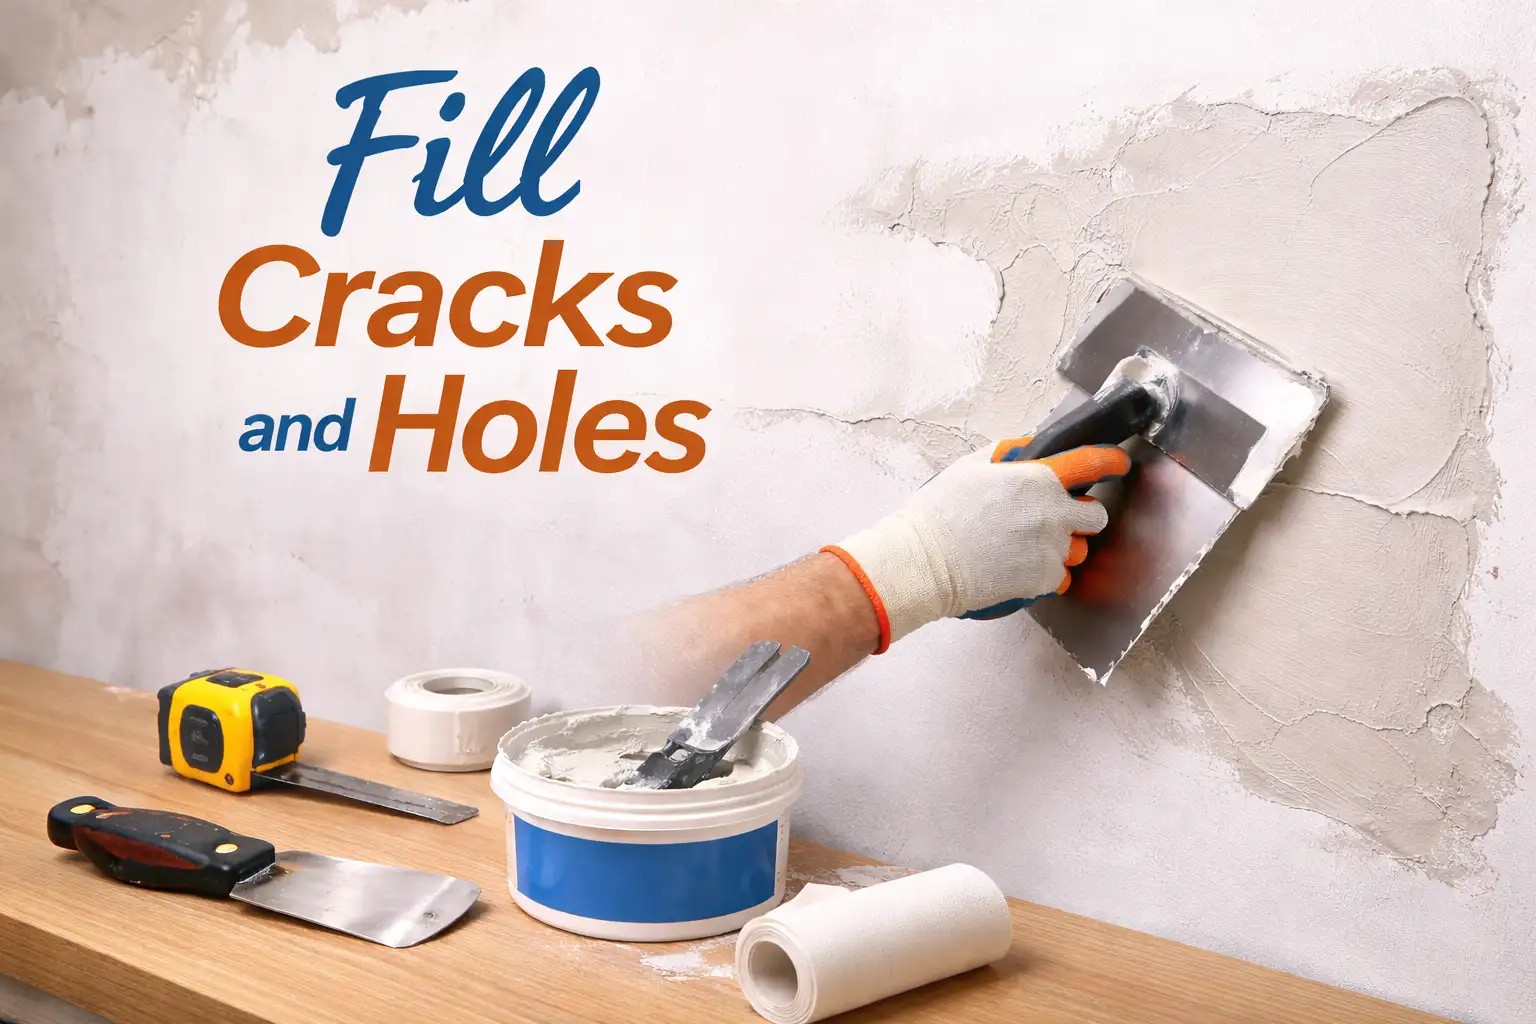
Fill Cracks and Holes
Walls often have small cracks, nail holes, or dents that need to be repaired before tiling.
Use a wall filler or patching compound to fill these areas. Apply the filler using a trowel and press it firmly into the cracks or holes. Smooth the surface so it blends with the surrounding wall.
Allow the filler to dry completely according to the manufacturer’s instructions. Once dry, lightly sand the repaired area so it becomes flush with the wall surface.
Apply a Wall Leveling Compound
If the wall is significantly uneven, you may need to apply a wall leveling compound or tile adhesive to create a flat surface.
Mix the leveling compound according to the instructions on the packaging. Using a trowel, spread a thin layer of the compound over the uneven areas of the wall.
Start from the bottom and move upward, smoothing the compound as evenly as possible. Use a straightedge or level to check the surface while working.
Allow the compound to dry completely before continuing.
Check the Wall Again
Once the leveling compound has dried, check the wall again using a spirit level or straightedge.
Place the level in multiple directions to ensure the wall is flat. If you still notice uneven areas, apply another thin layer of leveling compound and smooth it out.
Sometimes it may take two or three coats to achieve a perfectly level wall.
Sand the Surface Smooth
After the final layer of leveling compound has dried, lightly sand the surface to remove any rough spots.
Sanding helps create a smooth finish, which is essential for proper tile installation. Be careful not to remove too much material; just smooth the surface.
Clean the wall again with a cloth to remove sanding dust.
Apply Primer (If Necessary)
Some walls, especially drywall or very porous surfaces, may require a primer before applying tile adhesive.
Primer helps seal the surface and improve the bonding strength of the adhesive. Apply the primer evenly using a brush or roller and allow it to dry completely.
Once the primer has dried, the wall is ready for tiling.
To get more information about tiling, you can visit the Floor Tiling.
Common Mistakes to Avoid
When leveling a wall before tiling, avoid the following common mistakes:
-
Skipping the wall inspection before starting the work
-
Applying thick layers of leveling compound, which may crack
-
Not allowing enough drying time between coats
-
Ignoring small cracks or holes in the wall
-
Installing tiles on dusty or dirty surfaces
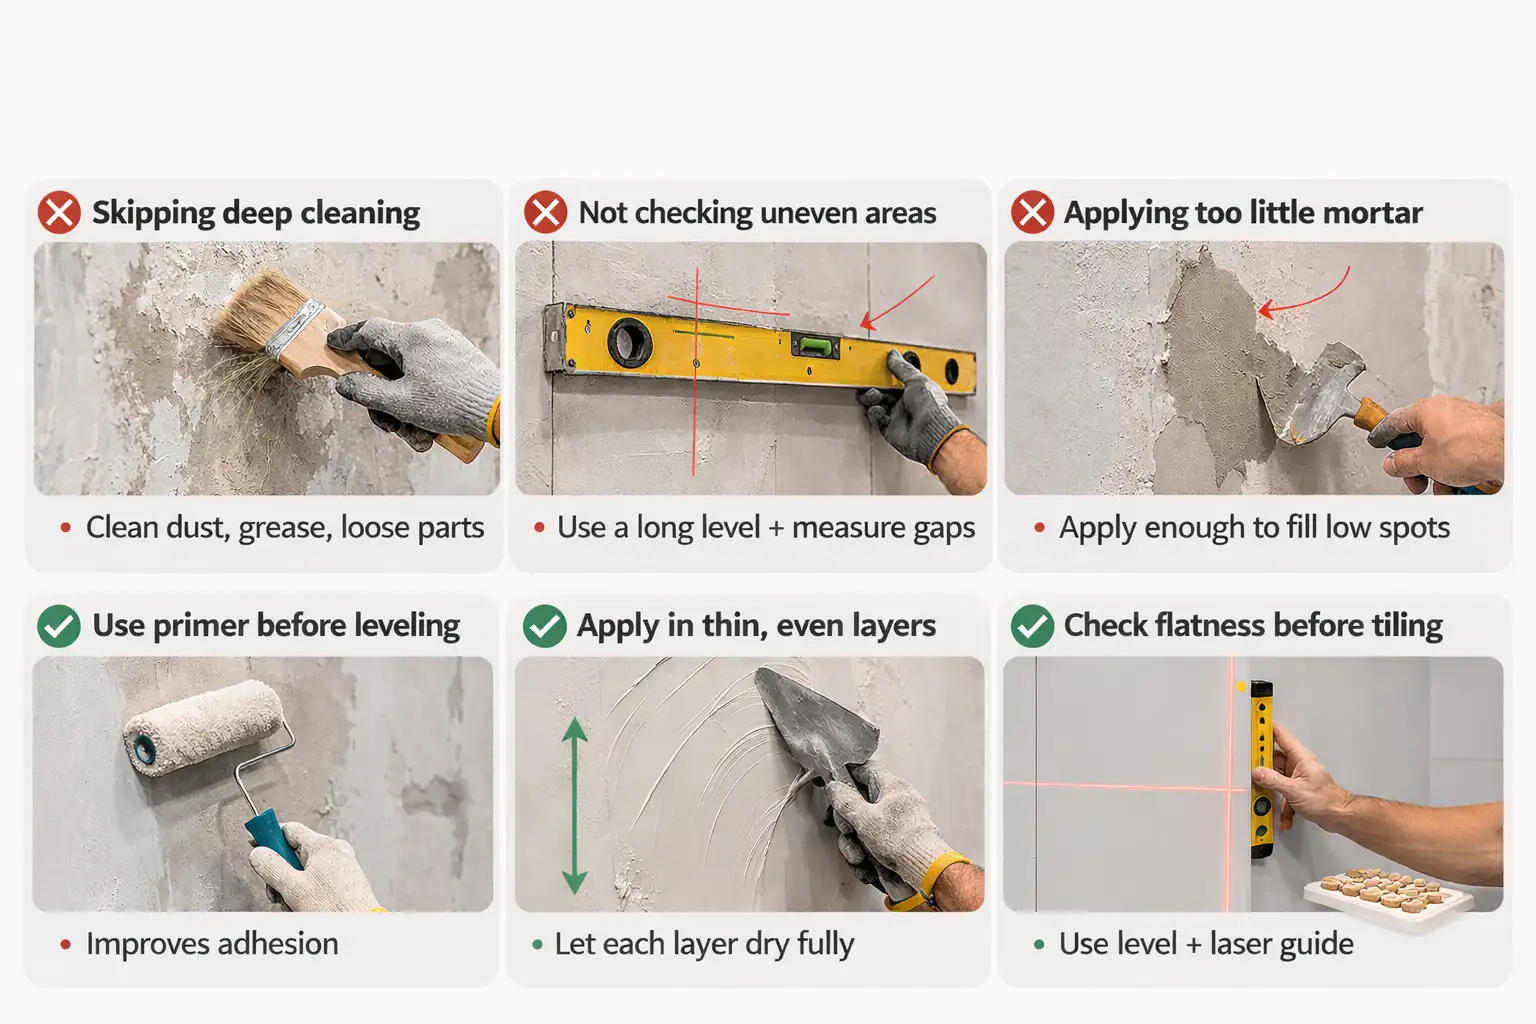
Avoiding these mistakes will ensure a smoother tiling process and better results.
Final Thoughts
Leveling a wall before tiling is one of the most important steps in any tiling project. Although it may take extra time and effort, it ensures that the tiles are installed evenly and securely.
By carefully inspecting the wall, cleaning the surface, repairing cracks, and applying a leveling compound, you can create the perfect base for tile installation. A properly prepared wall not only improves the appearance of the tiles but also increases their durability and lifespan.
If you want professional-looking results, never skip the wall leveling process. Taking the time to prepare the wall correctly will make your tiling project easier and more successful.
FAQs
Why is it important to level a wall before tiling?
Leveling ensures tiles adhere properly, prevents uneven surfaces, and avoids cracks or gaps over time.
What tools do I need to level a wall before tiling?
Common tools include a spirit level, trowel, putty knife, sanding block, measuring tape, and wall leveling compound.
Can I tile over an unlevel wall?
It’s not recommended. Uneven walls can cause tiles to appear crooked, grout lines to misalign, and increase the risk of tiles cracking.
How do I fix small bumps or dips on a wall?
Apply a thin layer of wall leveling compound or plaster, smooth it with a trowel, let it dry, and sand it for a flat surface.
How long does it take for a wall leveling compound to dry?
Drying time varies by product but typically ranges from 2 to 24 hours. Always follow the manufacturer’s instructions.